When to Use an AI Photo Enhancer Instead of Manual Retouching
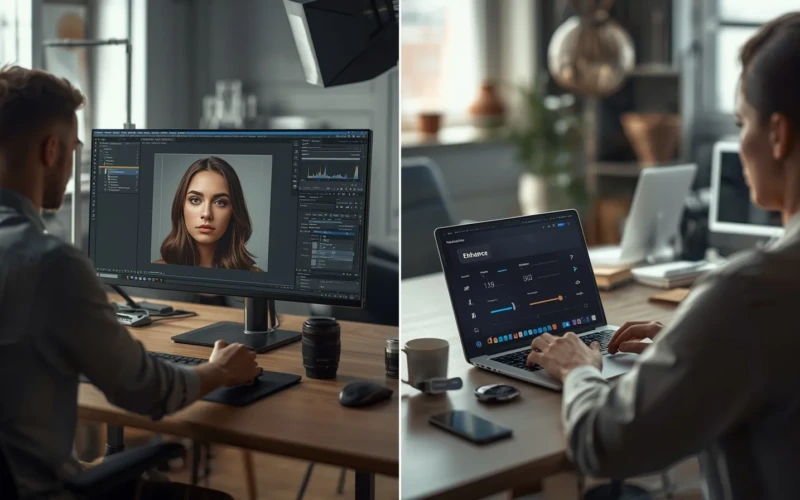
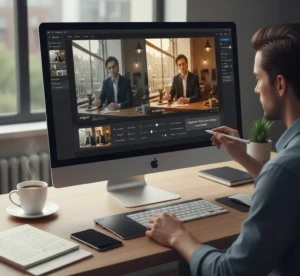
Having sharp and polished photos is more important than ever. An AI photo enhancer can help you improve your images quickly, making them look professional and eye-catching without spending hours on manual editing. These tools automatically adjust lighting, colors, and details, saving time while delivering impressive results. If you’re working on portraits, product shots, or social media content, an AI photo enhancer can make your photos stand out. The best part is that you don’t need to be an expert in photo editing, these tools make it easy for anyone to achieve high-quality results. With just a few clicks, you can transform ordinary images into visually amazing ones.
While manual retouching gives you complete control, it can be time-consuming and requires experience to get the best results. Using an AI photo enhancer is ideal when you need quick improvements or want to improve multiple photos consistently. It’s especially helpful for busy professionals, content creators, or anyone who wants polished images without the learning curve. By combining AI improvements with selective manual touches, you can achieve the perfect balance of speed and precision. Over time, using AI tools smartly can save hours of work while still keeping your photos natural and appealing. Understanding when to rely on AI versus manual retouching is key to getting the most out of your images.
Why an AI Photo Enhancer Can Save You Time
An AI photo enhancer can save you time because it works fast and handles many edits at once. Instead of adjusting brightness, contrast, sharpness, and color one by one, the tool can improve everything in just a few clicks. This is helpful for business owners, content creators, and online sellers who need to edit many photos in a short time. You no longer have to spend hours learning complex editing tools or doing small manual corrections. The AI studies the image and applies smart changes based on what the photo needs. This means you can focus more on creating content instead of fixing every little detail.

Another reason it saves time is consistency. When you edit photos manually, it can be hard to make every image look the same, especially in large batches. An AI photo enhancer can apply similar settings across multiple photos, keeping your style clean and professional. It also reduces the need for repeated revisions because the results are often balanced and ready to use. This is perfect for social media posts, product listings, or marketing materials. With faster editing and steady results, your workflow becomes smoother and less stressful.
Helpful tips when using an AI photo enhancer:
- Start with high-quality original photos for better results.
- Use batch editing if you have many images to improve.
- Review the final output and make small manual tweaks if needed.
- Choose simple settings first before trying advanced options.
- Save your preferred settings to keep a consistent style
When Manual Retouching Is Still Necessary
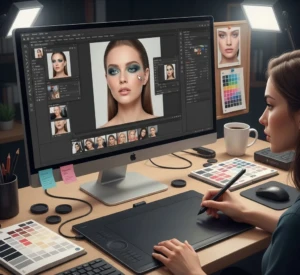
Manual retouching is still necessary when a photo needs detailed and careful editing. While AI tools are fast and smart, they may not fully understand creative vision or small artistic changes. For example, high-end fashion, beauty, or advertising photos often require precise skin retouching, background cleanup, or product adjustments. These fine details need a human touch to look natural and polished. In some cases, AI can over-smooth skin or remove textures that should stay. Manual editing allows you to control every small change and keep the image looking realistic. Another situation where manual retouching is important is when fixing complex problems.
If a photo has strong shadows, reflections, or distracting objects, automatic tools may not handle them perfectly. A skilled editor can carefully remove unwanted elements and adjust lighting step by step. Manual work is also better when you want to create a unique style that stands out from common presets. It gives you more freedom to experiment and personalize your edits. Even if you use AI first, manual retouching can help refine and perfect the final result.
Helpful tips when doing manual retouching:
- Zoom in to check small details before finishing your edit.
- Avoid over-editing to keep the photo natural.
- Work in layers so you can adjust changes easily.
- Take short breaks to review your work with fresh eyes.
- Combine AI tools with manual edits for the best balance.
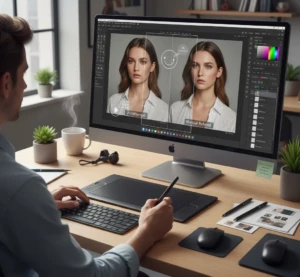
Combining AI Photo Enhancer with Manual Edits
Combining an AI photo enhancer with manual edits gives you the best of both worlds. AI can quickly improve lighting, sharpness, and color balance in just a few seconds. This saves you time and gives you a strong starting point for your edits. After that, you can manually adjust small details that need extra care. This method helps you work faster without losing creative control. Instead of choosing one over the other, you use both tools together for better results.
This approach is especially helpful for photographers, online sellers, and content creators who handle many images. AI handles the basic corrections, while manual editing refines textures, removes distractions, and improves important details. It also allows you to keep your unique style instead of relying only on automatic settings. When you combine both methods, your photos can look polished but still natural. The workflow becomes smoother, and you spend less time fixing mistakes. In the end, you get professional-looking images with less stress.
Helpful tips when combining both methods:
- Use AI first for quick overall improvements.
- Review the image carefully before starting manual edits.
- Focus manual changes on small details like skin, edges, or backgrounds.
- Keep your editing style consistent across all photos.
- Save a copy of the original image in case you need to compare.
Top Situations to Use an AI Photo Enhancer

An AI photo enhancer is most useful when you need quick improvements without spending hours editing. It works well for social media posts where bright, clear images help grab attention. Online sellers can also use it to improve product photos and make items look more appealing. If you are working with a large number of images, AI can improve them in batches, saving both time and effort. It is also helpful for beginners who may not be familiar with advanced editing tools. With just a few clicks, photos can look sharper, cleaner, and more professional. Another great situation to use an AI photo enhancer is when your images have small lighting or color problems.
Instead of adjusting every setting manually, AI can balance exposure and correct tones automatically. It is also useful for restoring old or slightly blurry photos by improving clarity. Content creators, bloggers, and small business owners can benefit from faster editing and consistent results. When deadlines are tight, AI helps you stay productive without lowering quality. This makes it a practical tool for both personal and professional projects.
Helpful tips when using an AI photo enhancer:
- Choose high-resolution photos for better results.
- Use batch editing for events, product shoots, or large projects.
- Compare the before and after versions to check improvements.
- Avoid over-enhancing to keep the image natural.
- Combine AI edits with light manual adjustments if needed.
Tips to Get the Most Out of Your AI Photo Enhancer
To get the most out of your AI photo enhancer, start with clear and high-quality images. AI tools work best when the original photo has good lighting and sharp details. While the software can improve many things, it cannot fully fix extremely blurry or very dark images. It is also important to understand what the tool can and cannot do. Take time to explore its basic features before trying advanced options. This helps you get better results without feeling confused or overwhelmed.
Another important tip is to review every edited photo carefully. Even though AI is smart, it may sometimes over-smooth skin, change colors too much, or remove small details. Always compare the edited version with the original to make sure it still looks natural. You can also combine AI adjustments with light manual edits for a more polished finish. Saving your preferred settings can help you keep a consistent look across your photos. With practice and careful checking, your AI photo enhancer can become a powerful part of your editing workflow.
Helpful tips to remember:
- Use well-lit and high-resolution images whenever possible.
- Avoid applying the strongest improvement settings right away.
- Zoom in to check fine details like skin, edges, and textures.
- Keep your editing style consistent for branding purposes.
- Save original files in case you need to re-edit later.
Conclusion
In the end, knowing when to use an AI photo enhancer instead of manual retouching can make your editing process faster and more effective. Both methods have their strengths, and the key is learning how to use them wisely based on your needs. AI tools can save you time and keep your workflow smooth, while manual edits help you add a personal and creative touch. When you combine speed with control, your photos can look both professional and natural. The more you practice, the easier it becomes to decide which method works best for each project. Now we’d love to hear from you, do you prefer using AI photo enhancers, manual retouching, or a mix of both? Share your thoughts and experiences in the comments below.
Read Next: Professional Product Refinement for Clean & Clear Product Photos